There are four ways to create a contract: Import New Contract, Bulk Contract, Quick Contract and From Template
- Creating a contract via Import New Contract
- Navigate to Manage Contracts > Create New Contract + > Import New Contract
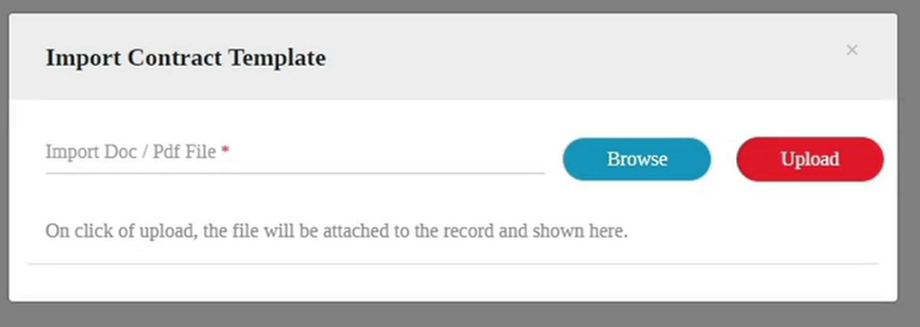
- Once the page loads, a pop up appear asking you to browse your
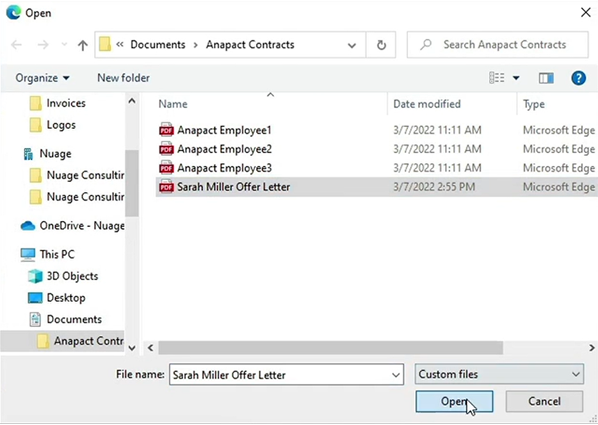
computer and select the file that you want to upload.
- From the pop-up window, select a file, click Open and click the Upload button.
- The Import Contract button at the upper right corner will update.
- Check the Contract Content section for accuracy.
- Populate the Contract Name and Contract Type
- Set Metadata fields if needed.
- Set Workflow fields if needed.
- Add Notes if needed
- Click Submit
- Once the contract is submitted, the system will route you to the
Manage Contracts page and you can check the contract that you have
uploaded - To view the contract, click the eye icon.
- Click the View the contract in PDF or View Supporting Documents link.
- Creating a contract via Bulk Contract
- Navigate to Manage Contracts > Create New Contract + > Bulk Contract
- Navigate to the Upload Documents section > click the Upload Documents link
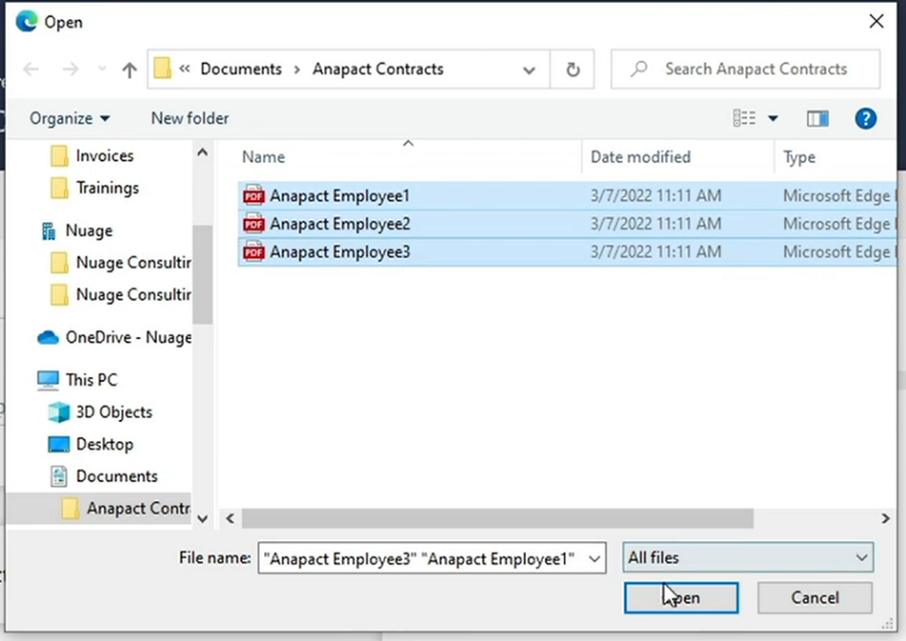
- On the pop up window, select the contracts you want to upload and click Open
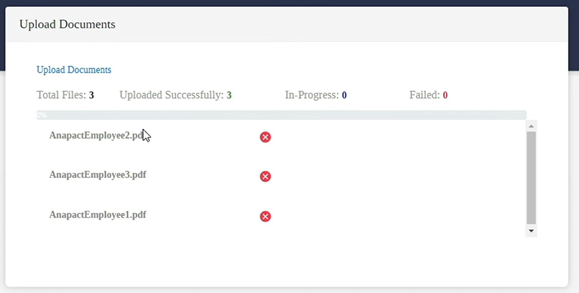
- Check Total Files and Uploaded Successfully fields
- You can select the x icon if you want to remove a file.
- Populate the Contract Name and Contract Type fields
- Set Metadata fields if needed. Note that this will apply to all the
contracts uploaded. - Add Notes if needed.
- Click Submit
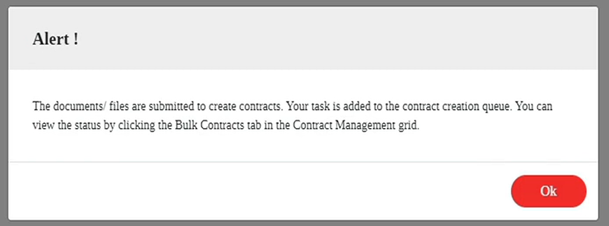
- A pop up will appear:
- Click Ok
- Navigate to the Manage Contracts > My Bulk Contracts column to see
status of upload. It will initially show a status of In Progress until
the uploaded is completed. - Once uploaded is completed, you will receive an email confirmation
and the status will change to Completed. - You can click the eye icon and you will be directed to the View
Contract - On the Contract Content section you can click the View Supporting
Documents link to view the contract(s) you want to view.
Note: The Manage Contracts page is primarily used for storing and
managing contracts and not e-signature nor adding dynamic fields.
- Creating a contract via Quick Contract
- Navigate to Manage Contracts > Create New Contract + > Quick Contract
- Populate the Contract Name and Contract Type fields
- On the Contract Content section, click the Import Word/PDF
Document. A pop-up window will appear:
Note: The Add Signature button allows you to assign dynamic fields
that you can drag and drop on the contract.
- On the pop-up, select the file that you want to upload, click Open and select Upload
- Set Metadata fields if needed.
- Set Workflow Assignee fields if needed.
- Add Notes if needed.
- Click Submit.
- Once the contract is uploaded, the system will route you to the
Manage Contract
- Creating a contract via From Template
- Manage Contracts > Create New Contract > From Contract
- Select one from the Contract Type list.
- Select one from the Contract Template list.
- Populate the Contract Name field.
- Set Matadata fields if needed.’
- Set Workflow Assignee fields if needed.
- Click Submit.
- Once the contract is uploaded, the system will route you to the
Manage Contract page.


